
I must say that I had not really planned to post on the devblog again any time soon! Given that the development of Chronotopia: Second Skin monopolizes all of my free time, silence ended up settling. I could have certainly given news more regularly but this is already an exercice I engage in every month, be it on Kickstarter or through the team’s newsletter, and I didn’t want the devblog to merely be a copy-paste of what I already write there.
So, you don’t come here any more?
However, I’m slowly realizing that some of you are quite confused about our progress or Chronotopia’s story in general. It would seem to me that I’m not exactly shy with details but it’s entirely possible that not everyone follows Kickstarter’s updates closely!
You’re missing quite a lot of pretty stuff, incidentally~
Instead of answering individually, I think it may be smarter to use the devblog to rectify this in a simple way. During our last crowdfunding campaign, I had written numerous spotlights about the game’s features: I intend to republish them here throughout Chronotopia’s development, at a rate of two articles per month. That way, those who had missed the spotlights can discover them and it will allow the others to refresh their memory before the game’s release. Here’s a list of what awaits you! I will take advantage of the opportunity to add the corresponding links when they’ll be available so that this post can be used as a recap~
Dry your tears, I haven’t forgotten about you!
Table of contents:
- * Donkeyskin and forgotten fairytales
- * Princess Kionna
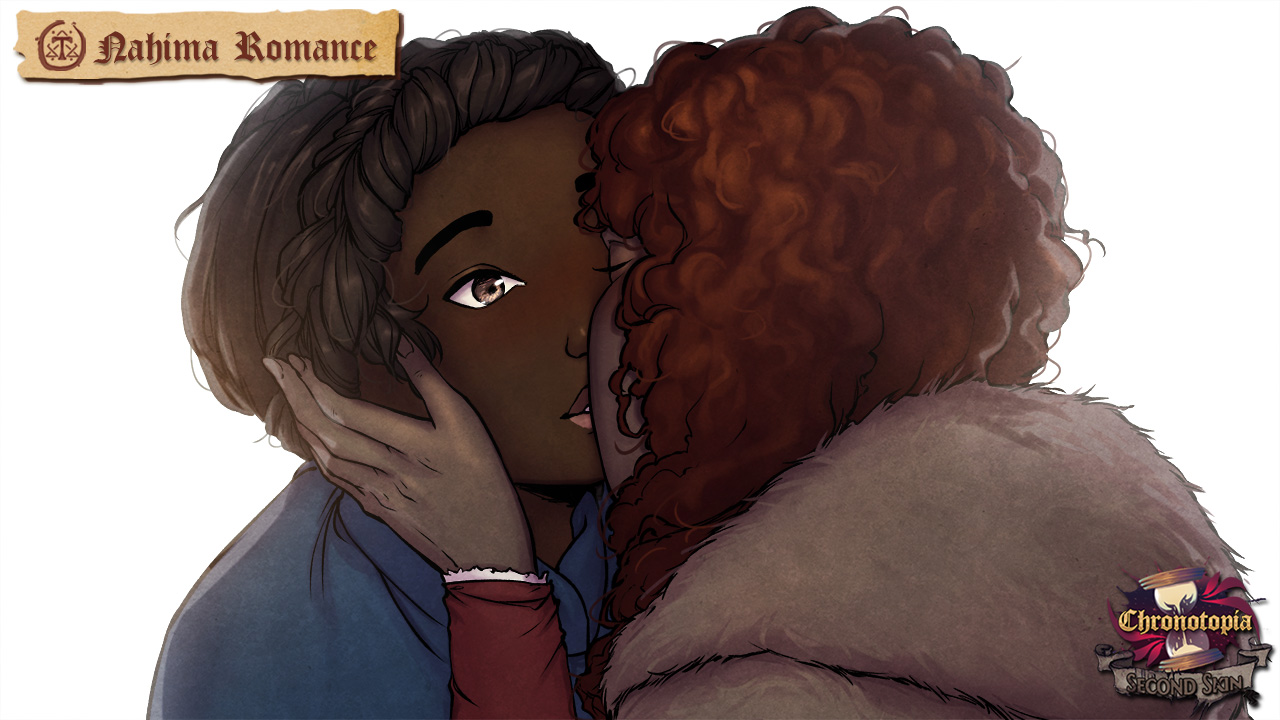
- * Nahima
- * The castle (common route)
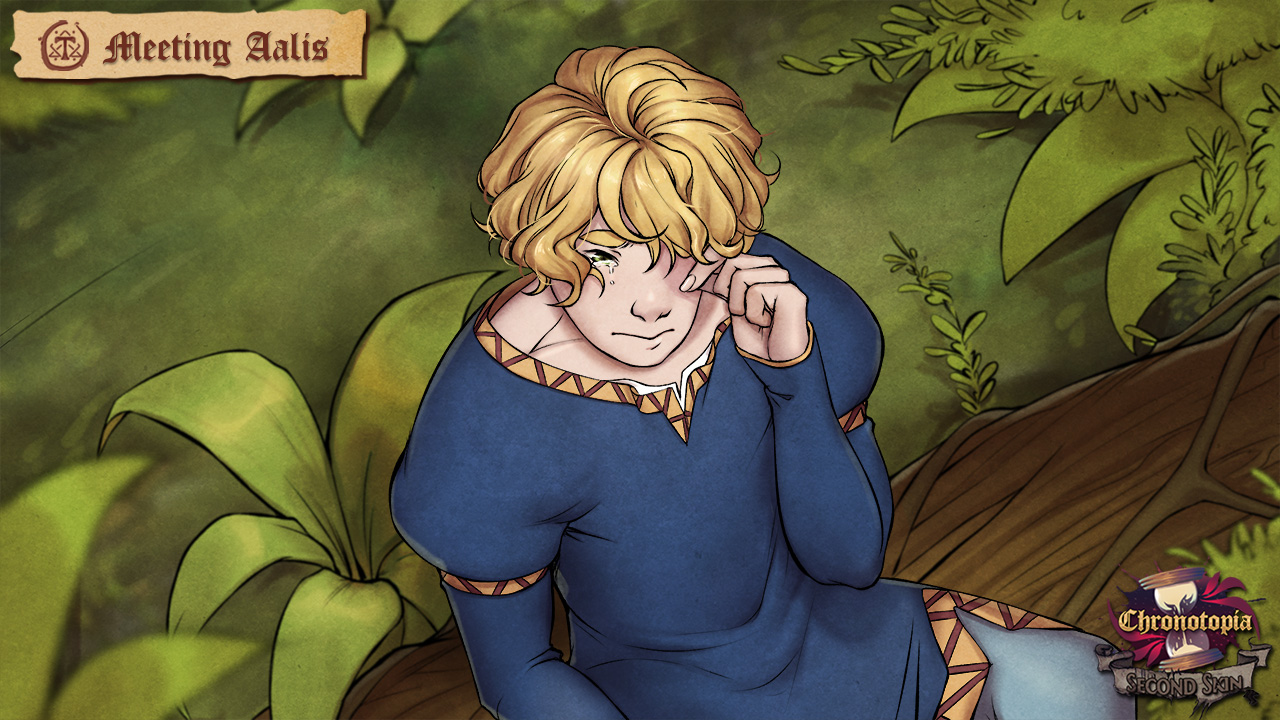
- * The Fairy
- * The King and the magical dresses
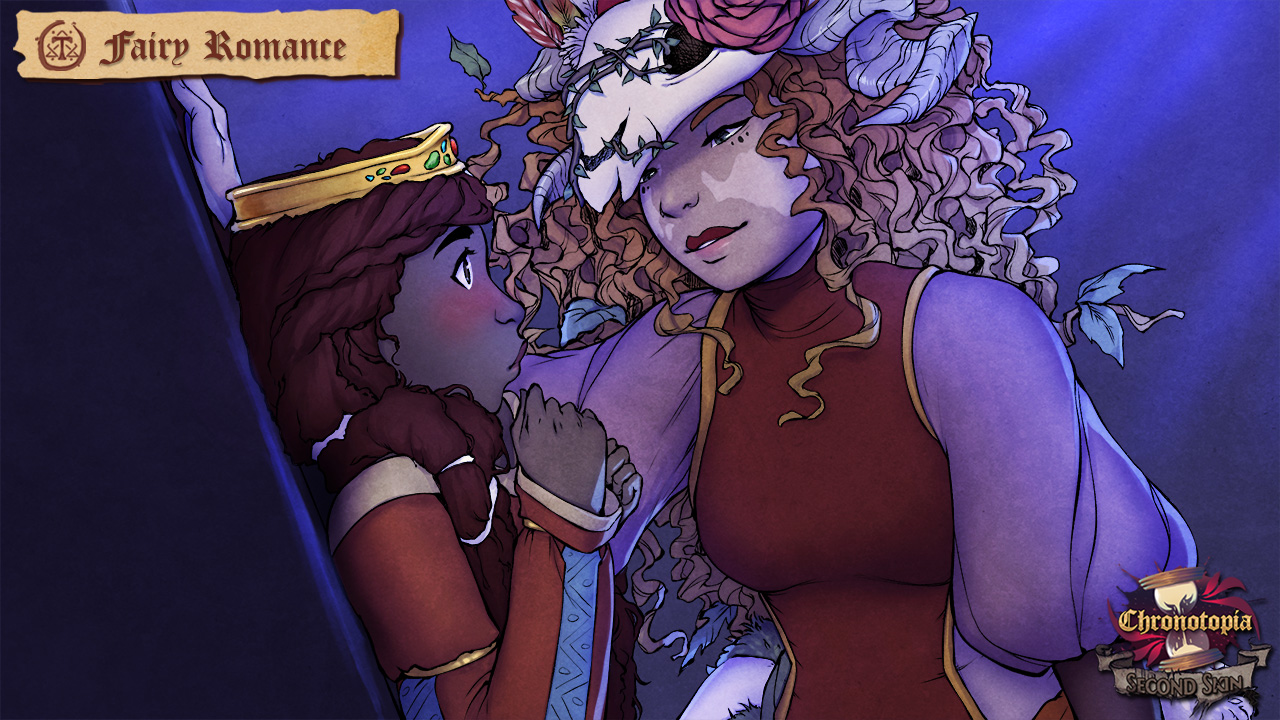
- * Romance and love scenes
- * Game structure & Fleur the farmer (B1 route)
- * Prince Griselde (B2 route)
- * Dynamic shots + RenPy 3D camera
- * Prince Thalie (C1-C2 routes)
- * Background Animations
- * Prince Genèse (D route)
- * The ‘Purgatory’
- * Lys, guardian of memories

Need some solace? Luckily the bear is here!
And for those who like numbers, I leave you with this brand new page which presents our progress stats, route by route, so that you can have a better overview of the work remaining to do on Chronotopia. It will be updated as we go along and I will explain what said numbers mean in the spotlights dedicated to the game’s routes.